 Towards the end of last year you may remember that I acquired another half plot allotment and started work on a miniature orchard. There were already a few apple trees, a plum tree and grape vine so I planted ten more bare root trees. A couple of those trees came from the folks at Ashridge Nurseries and they have grown nicely. The Beauty of Bath tree I acquired already produced the most unbelievably tasty apple in its first season. Ashridge Nurseries don’t only do fruit trees, you can order all manner of plants online with them from trees to bulbs and hedging. Here is a guide they have kindly produced for GrowLikeGrandad about hedge planting in Autumn, something I will also be doing later this year along one of my allotment plot borders and at home in the garden.
Planting a Hedge in Autumn
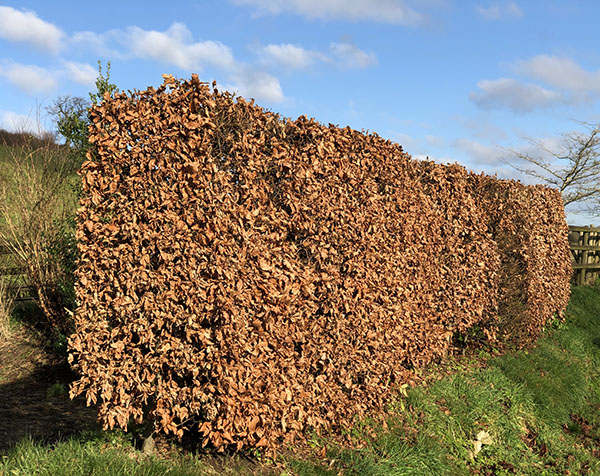
Autumn is the best time to plant bare-rooted hedging. This is primarily because the vast majority of hedge plants are deciduous and so go in dormancy in autumn and even evergreen plants slow down as it gets colder. As a result, they suffer less from the disturbance. A bit like going to sleep in one bed and waking up in another…
Prepare the Soil
Before your plants arrive, deal with weed competition in the hedge planting area. Cut the weeds short and use weed control fabric to cover them or, where weeds have deep tap roots (such as hogweed or docks), dig these out with a spade first. Whilst increasing evidence links popular weed killers to pollinator decline, something that should be avoided, it is technically possible to use a systemic weed killer prior to planting a hedge where needs must. If planting privet hedging in particular, this guide on planting privet hedging may help.
Check your plants
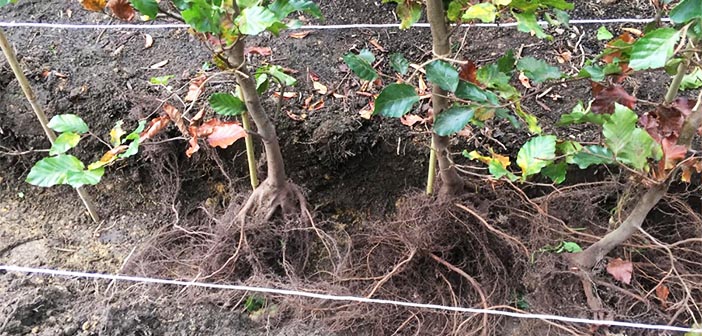
When they arrive, check that your order is complete and that the plants look healthy albeit leafless. There ought to be a good balance between shoots and roots so slim plants have slim roots. Treat your hedge plants with a bit of respect. Never let their roots dry out, even for a minute, but don’t drown them either. Never keep them somewhere warm. Plant them as soon as possible. If you have to keep them unplanted for more than a week, heel them into a trench at a 45-degree angle. Cover the roots with soft soil and firm lightly. Hedging will keep for 8-12 weeks like this.
Avoid damage to your hedge plants before planting
When they are out of the ground, put hedge plants in plastic bags to stop dry and/or broken roots, but don’t stack the bags. Overheating is bad, so keep them in the shade and out of the wind as much as possible when planting.
When to plant hedging
Broadly, you can start in early November and you should finish by the end of March although the season ends later as you go further North. The best days for planting are cloudy and calm; new hedging prefers a downpour to a sunny day! Never plant when the ground is frozen or covered with snow. If the ground is too hard to dig easily, just wait until it is.
Hedge plant spacing
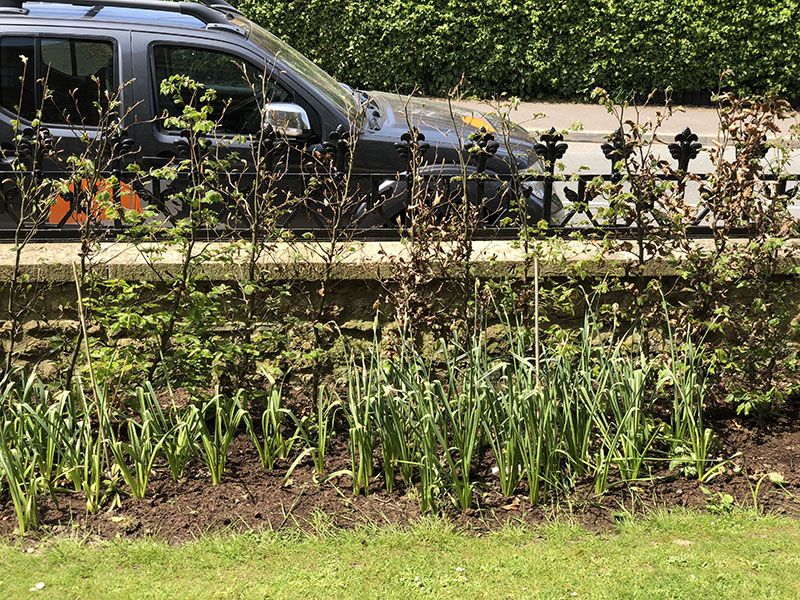
If you need a stock-proof hedge, then you will have to plant in two rows. If stock is not to be contained, or there is fencing as well, then one row will do just fine. It will still end up thick and bushy. The ideal spacing is three plants per metre in a row – which means 33 cms between plants. Allow 40-45 cms between rows. If you are planting in two rows, then they will need to be offset so that to an ant, the stems in the hedge appear equally spaced and about 16-17 cms apart. From above the planting will look like a zig-zag. With larger plants, you may be forced, simply by the amount of root, to plant using a wider spacing, but keep them as close as possible.
How to plant hedging
Have a bucket full of water. Take a bundle of plants out of a bag, cut the string or cable ties that hold them together and put them in the bucket. With hedging that is 60/80 cms or less, push a spade into the soil to the depth of the roots. Wiggle it to widen the slit and remove. Take a plant and sweep the roots into the hole from one side, without damaging them, so the plant ends up vertical. Firm in really so well that it is difficult to pull the plant out using your thumb and forefinger. Plant each plant at the level it was before being lifted – there is usually a tide mark on the bark where the soil level was. Hedge planting is one of those jobs where many hands makes light work. A team of three is about right
Hedge plants over 100 cms tall tend to have roots that are too big to fit into a slit. So they will need trench planting. Take out a trench wide and deep enough for the roots and centre each plant in the trench with the root collar just below ground level. Clean up the soil before returning it and then have a helper gently pull the plant so the soil settles around the roots. As the soil is firmed at the end the root collar should end up at soil level. With bigger plants, if your hedge is in a windy spot, it can be an idea to support them with canes until they start growing away.
Don’t Forget to Water
The single biggest cause of hedge plant failure is a lack of water. Really water a new hedge well immediately after it has been planted. The more the merrier. Then, unless the weather is wet, you should only have to water it every couple of weeks or so until July by which time there should be enough root establishment for your hedge to grow away happily.
Julien de Bosdari is the owner of Ashridge Trees and with over 21 varieties of hedging and hedge plants, there are plenty to choose from.


