

A steep hillside garden is often blessed with a lovely vista and, indeed, we can see the beautiful Surrey Hills from the top of ours. However, a ‘non-terraced’ hillside garden is hard to enjoy unless you’re six years old and relish repeatedly rolling it down it (covering yourself in sticky moss). Elderly visitors are nervous of leaving the path and even with a Flymo it’s an exhausting (if not dangerous) exercise when it comes to mowing the grass. When MrsGrow said “I want a nice seating area at the top of the garden” she probably didn’t envisage me building terraced walls and hard landscaping but if a job’s worth doing it’s worth doing well…
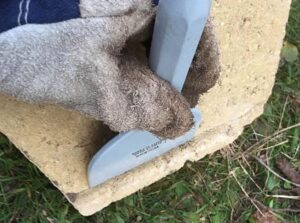
After a bit of research (and review reading) I decided to terrace the top of the garden using Marshalls Croft Stone Walling to build two retaining walls. The bricks are mortar free and stay in place because they are heavy (12.5kg) and each brick has a lip which overlaps the previous row beneath, preventing it from shifting forwards. Now I’ve never built a wall before and am certainly no builder which made MrsGrow rather nervous… but when I explained the cost benefits of doing it myself and conveyed my confidence she came around.
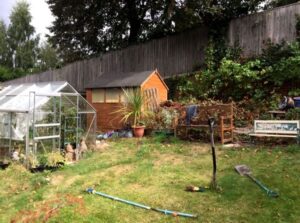
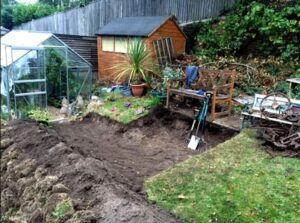
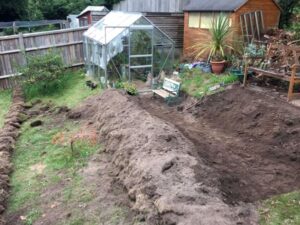
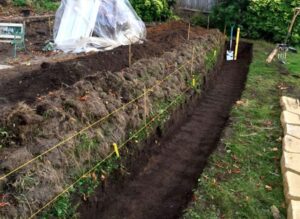
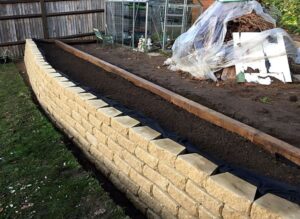
Marshalls Croft Stone Wall bricks have a recommended limit of 6 rows which is a total height of around 60cm. Of that 60cm, half of the lowest brick will need to be buried which leaves you with a maximum 50-55cm of wall height. You should factor that into your landscaping measurements for distance, you don’t want your wall to be too low or you’ll still have a slightly sloping terrace behind it. I simply used my eye, a tape measure, canes, a spirit level and a lot of string to place markers. In the gallery below you can see the process of preparation to level terraces behind temporary turf walls:
Garden Terracing Preparations:

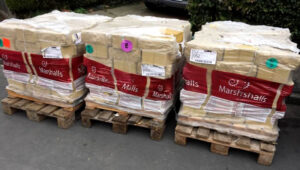
Once you’re done with the digging and levelling of terraces (and it’s a big job which took me a good few weekends to prepare) it’s time to order the bricks. I ordered mine from Wickes, they seemed to be the cheapest and most reliable source in the South East at £360 for 90 (Spring 2017 price). I ordered 3 pallet loads, so yes my walls have cost £1080 in materials alone plus sub base mot 2 to line the trenches and shingle, so call it £1150. The gallery below walks you through some of the next steps:
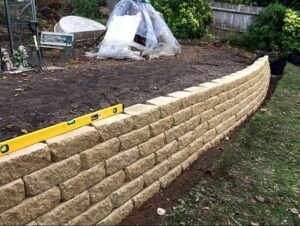
Building the Wall:


[hr gap=”25″]
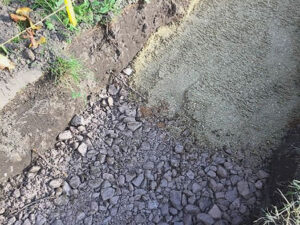
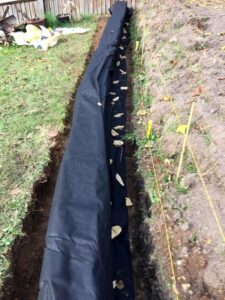
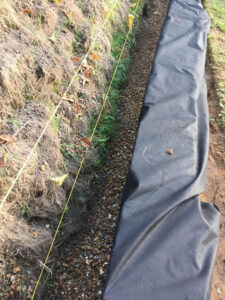
Back Filling with Shingle:
[hr gap=”25″]
Back Filling Old Turf and Top Soil:
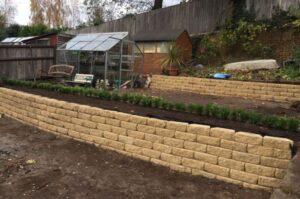
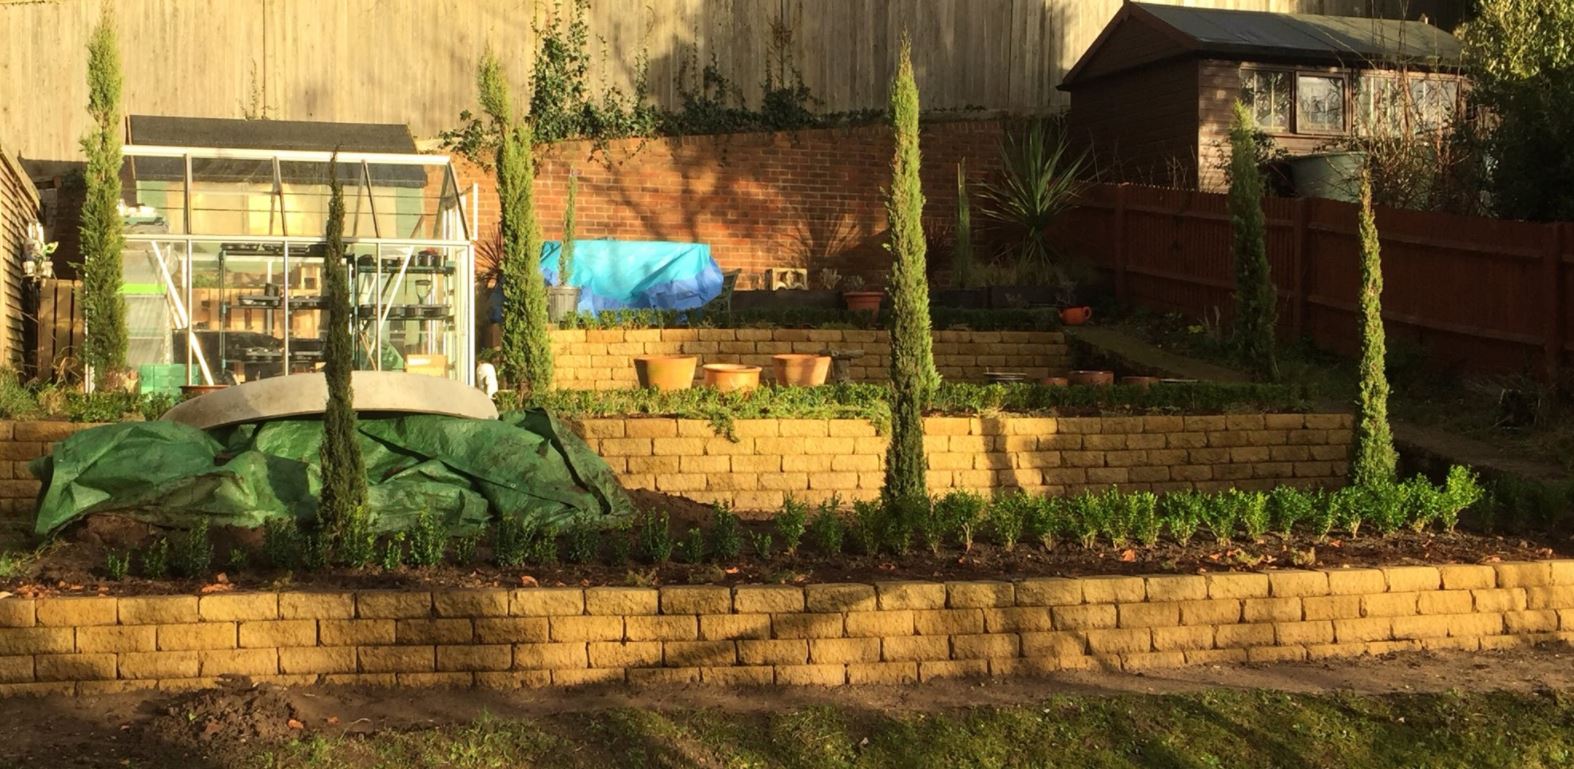
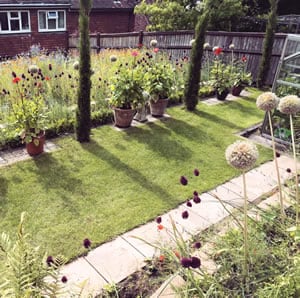
By now you’ve got the idea, and can repeat for your second or third wall. You can see from the photos above and below that I have a single wide wall (9 metres wide) and a smaller wall (5 metres wide) but both are 6 rows high. I left the walls to settle through the winter and have recently begun sieving top soil for level 2 in readiness for turfing. The garden has come a long way since the beginning and is starting to take shape – we will certainly be sitting at the top come April/May, surrounded by Queen of Night tulips and Globe Alliums.
[hr gap=”25″]Leave ground to sink, move on to landscaping the terraces.

[hr gap=”25″]
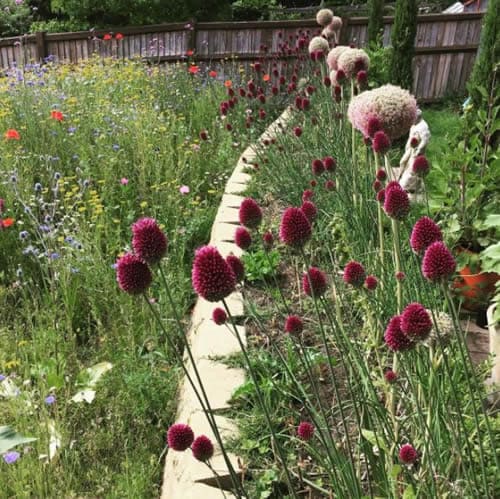
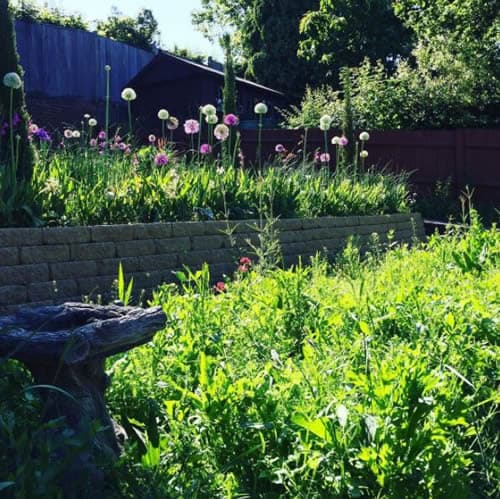
** September 2017 UPDATE **
We very much enjoyed the terraced garden this year, I will be moving on to a third terrace wall later this month. Here are some photos from the top terraces completed to date:

[hr gap=”25″]
** January 2018 UPDATE **
I decided to build a third terrace wall this year, ordering another 90 croft bricks from Wickes. However I came up a bit short and needed an extra 20 bricks. It turns out that the ONLY place in the country selling Marshalls croft bricks individually is Travis Perkins (£2.88 each). Thankfully they are just as happy to sell direct to consumers as trade and will order them in for you over the phone! Yes they may lose the order confirmation when you get there and even accuse you of making the whole thing up until you present a bank statement showing the debit… but you can pick them up yourself. My estate car just about managed 20 bricks spread across all axels!