Home made compost is essential for any gardener and making a compost bin from pallets is an absolute doddle, anybody with an allotment or large garden should have one. At the weekend I quickly threw together another small pallet bin behind my greenhouse at home. Here is a quick guide on how to make a pallet compost bin, as you’ll see it’s really not rocket science:
Materials – As a minimum you need three similarly sized wooden pallets and something to tie them together – I recommend a wire-based plastic coated ‘string’ because it won’t rot. In my local area pallets are very easy to come by at the local tiling centre, otherwise you may find that your local Freecycle group has a few free pallet offers each week. For this latest pallet bin I obtained three matching pallets from a delivery of bricks that I used on a garden landscaping project last Autumn – I’m a bit obsessive so matching pallets ticks my perfectionism boxes!
Location – you should place your new compost bin well away from any of your main growing beds (because it will attract slugs and snails) and ideally somewhere flat. Generally in a garden you’ll want to hide it away from view behind a greenhouse or shed. On an allotment it is possible to use a compost bin as something of a windbreak – I have mine on the North side of my plot, it’s a triple-width pallet bin (9 pallets) and it definitely helps to shield my squash plants from the wind even though it is some distance away from those growing beds.
Construction – In the gallery below I have outlined in very simple steps how you go about creating a small pallet compost bin. This is the most basic version, I don’t line my pallets with material because I’ve never found it necessary, not a lot falls out and you need good air circulation. I also don’t bother to stake the pallets using old wooden fence posts; once the bin starts being filled the pallets don’t go anywhere anyway (if tied correctly):
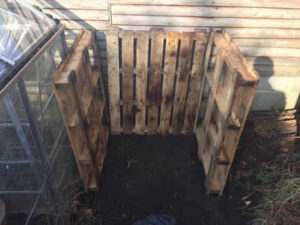
- 1a) Construction: Place the pallets on end side by side, if your ground is level they will stand unaided for a few minutes while you tie them together.
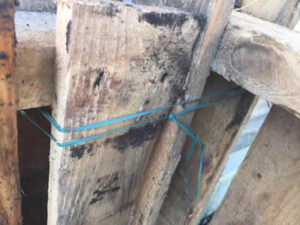
- 1b) Construction: Tie the pallets together at the top and bottom corners using the plastic/wire based string.
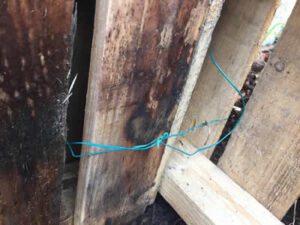
- 1c) Construction: Tie the pallets together at the top and bottom corners.
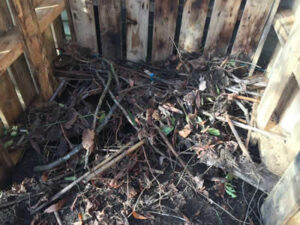
- 2a) Filling: Place lots of wood and sticks into the bottom of the compost bin. This helps with drainage and air circulation. Some of the soils will still sink through the gaps, this is fine, you want worms to be able to find their way up into the rotting contents.
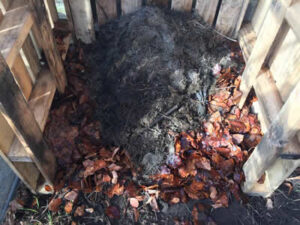
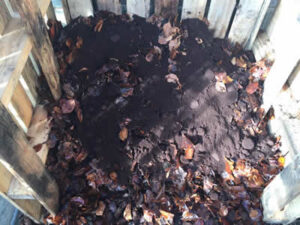
- 2b) Filling: Compost Lasagna – Add contents in layers by material type – brown stuff (wood/bark) then green stuff (plant matter). The layering of composting materials aids the decomposition process. NEVER add perennial weeds to a compost heap, they should be dried and burned.
- 2c) Filling: Coffee Grounds – I add coffee grounds to my compost heap, this is more advisable than adding grounds directly to beds because the caffeine will inhibit plant growth and it can drain out within the compost heap.
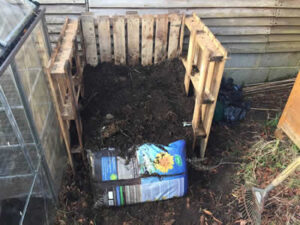
- 3) Holding back the contents – I use whatever I have to hand to retain the compost as the heap grows in size. It is of course possible to add a fourth pallet to the front, tied on only once side to allow access (like a gate).
Ongoing Maintenance – On the whole a compost heap won’t need a great deal of attention but there are a few tasks you can undertake to assist the decomposition process and improve your compost:
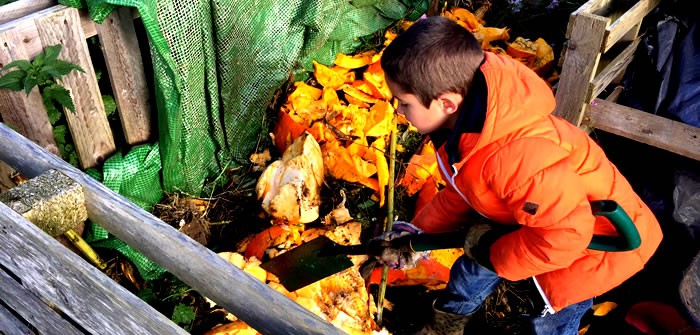
- Add a handful of garden soil with each new layer – it’s full of natural soil bacteria.
- Add some layers of animal manure (horse, chicken, rabbit) – all helps.
- Water the compost heap from time to time if covered or rainfall is below average (this can include human urine… it’s high in nitrogen).
- Equally cover the compost heap in a prolonged wet spell to avoid the nutrients running through.
- TURN the pile once every six weeks with a fork.
- NEVER add perennial weeds to a compost heap, they should be dried and burned.
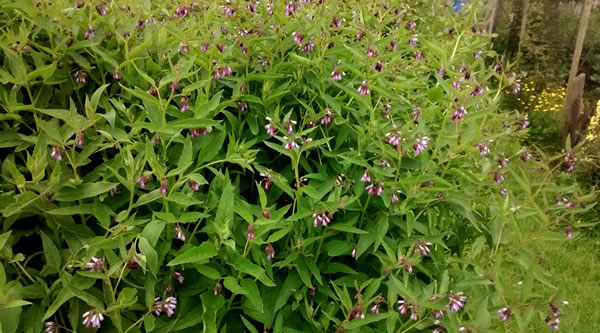
An extra tip – Try and grow Comfrey beside your compost bin, the roots will absorb any of the compost bin’s run off nutrients (and there will be some). You can then use the Comfrey leaves to make a Comfrey tea / liquid fertiliser or failing that, at the end of the season just cut back the plants and place them back onto the compost heap to break down. Think of them as a natural compost sponge.
If you’d like to know more about the detail of the composting process there is an excellent article here from Sharpen Your Spades – Compost: it’s everything – the heart of the allotment garden.



1 Comment
Thanks. I’ve got my 3 pallets already in situ at the allotment and wanted to verify what’s next.